Overview
Sharing data science projects with stakeholders can be challenging, especially when working on smaller teams without dedicated IT/DevOps support. Through a lot of trial-and-error, I’ve developed a framework that I use for most of my R projects. This framework makes it easy to collaborate with other team members and deploy web apps, reports, and APIs on-premises or in the cloud. In this post I’ll outline the steps needed to get started (code here).
Install Docker
The first step is to install Docker. Docker is a platform that allows you to run applications in “isolated” environments called containers. You can find the install instructions here.
Dockerfile
Once Docker is installed, you’ll need to create a Dockerfile for your container. A Dockerfile is just a text file with instructions for what your environment needs to run code. These steps are usually comparable to helping a new team member get their laptop setup. Generally, you tell them what they need to install: programs, packages, database drivers, etc. A Dockerfile formalizes this process and makes it much easier to manage.
Luckily, the folks at The Rocker Project have already done most of the heavy lifting. They provide a collection of Linux container images that you can extend for your own project. I generally use the rstudio images which come with RStudio Server already installed. These images make it easy to develop R code inside the container while it’s running.
Below you’ll find an example of a typical Dockerfile I use. It extends the rstudio:4.2.2 image from The Rocker Project, installs and configures Shiny Server (more on that later) and installs the R packages we’ll need for this example.
dockerfile
FROM rocker/rstudio:4.2.2

#install shiny server
RUN /rocker_scripts/install_shiny_server.sh

#add shiny server config
COPY /R/shiny_server.conf /etc/shiny-server/shiny-server.conf

#install R packages
RUN R -e 'install.packages(pkgs = c("markdown"))'
RUN R -e 'install.packages(pkgs = c("rmarkdown"))'
RUN R -e 'install.packages(pkgs = c("plumber"))'
Docker Compose
The next step is installing Docker Compose. Compose provides helpful configuration options which you can define in a .yml file.
compose.yml
version: "3.9"

services:
  blog_example:
    build: .
    image: blog_example
    container_name: blog_example
    environment:
      - PASSWORD=blog
      - ROOT=true
    ports:
      - "8803:8787"
      - "8003:8000"
      - "3983:3838"
    restart: always
    volumes:
      - ./R:/home/rstudio/R
The build parameter allows you to specify the path to the Dockerfile defined above, the . indicates the Dockerfile file is in the same directory as compose.yml. The environment parameter sets the PASSWORD and root access for the Rocker Project container. The ports parameter indicates which ports to expose on the container and how to map them to the host ports (HOST:CONTAINER). This is a crucial step which can be tricky. The applications in the container, like RStudio Server and Shiny Server, operate on specific ports (8787 and 3838, respectively) which you can map to your local machine anywhere you’d like (8803 and 3983 in this example). Port management allows you to run multiple containers with different projects simultaneously. Lastly, the volumes parameter allows you to connect a directory on your local machine to a directory in the container. This enables you to edit your code locally, as well as inside the container while it’s running. Without volumes, you would need to rebuild the container every time you changed your code.
Build + Run Container
Now you are ready to build and run the container, which can be done in a single command:
docker-compose -f compose.yml up --build -dTo stop the container, use:
docker-compose -f compose.yml downRStudio Server
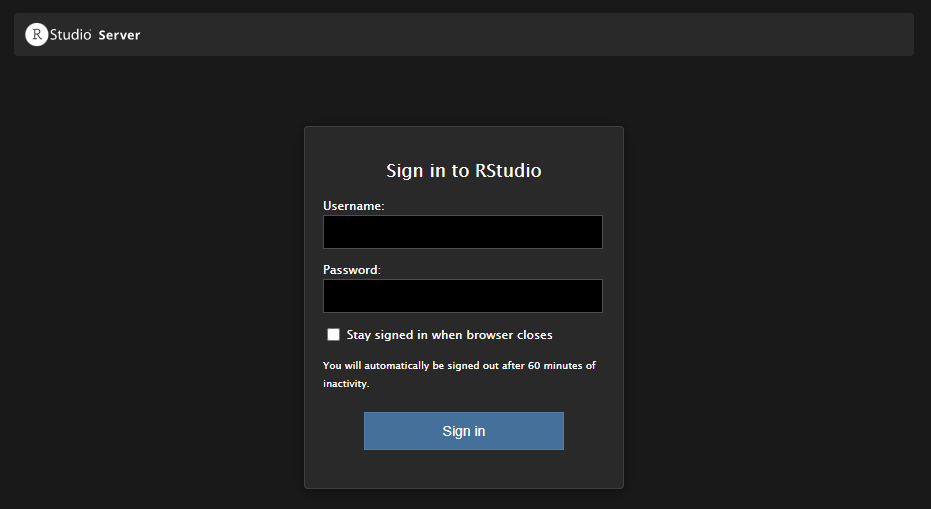
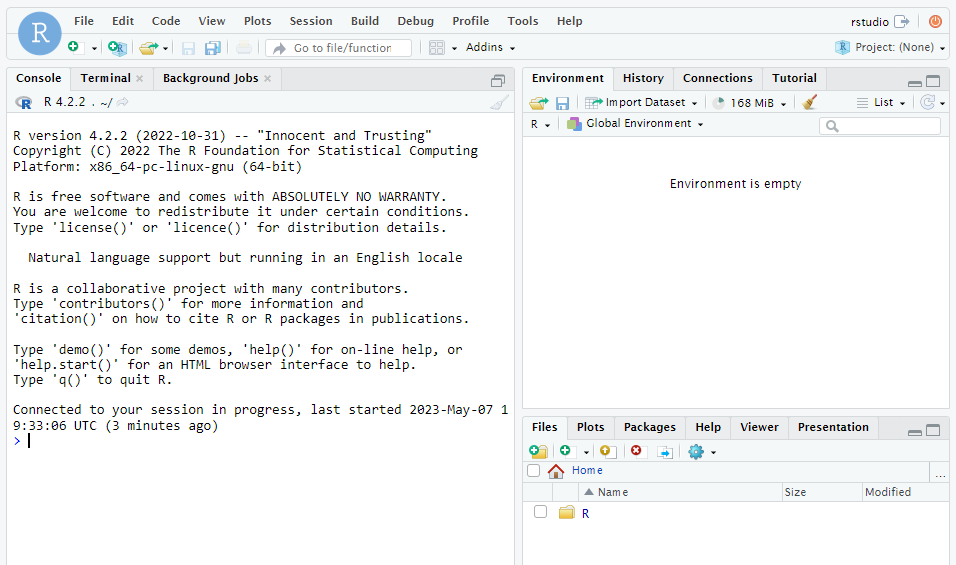
Navigate to http://localhost:8803/ and you should see an RStudio Server login screen. Log in with u: rstudio and p: blog. Once you’ve logged in, you should see the familiar RStudio interface.
Shiny Server
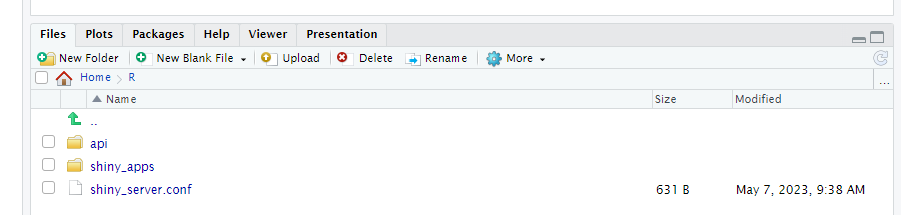
As noted above, the Dockerfile contains a command to install Shiny Server from a script provided by The Rocker Project. Additionally, the Dockerfile overwrites the /etc/shiny-server/shiny-server.conf file with an updated config file that sets the host directory for Shiny apps to /home/rstudio/R/shiny_apps. This file path is found inside the container, you should be able to navigate to it from the file explorer in RStudio Server.
Any Shiny apps added in this directory will be exposed at http://localhost:3983/. You can also add interactive R Markdown reports as Shiny apps.
Plumber APIs
You can also host plumber APIs to make your R functions available as API endpoints. This is particularly helpful for making trained ML models accessible to other applications. First, create a plumber.R API script1. Next add a script that runs your new API on port 8000 (mapped to 8003 in compose.yml).
run.R
r = plumber::plumb("plumber.R")
r$run(host="0.0.0.0", port=8000, swagger=TRUE)
After you run the script, the API documentation will be exposed at http://localhost:8003/__docs__/#/. You can execute the script in your running container from the terminal of your host machine with:
docker exec -dw /home/rstudio/R/api blog_example Rscript run.RDeploy
The framework above should be all you need to create reproducible environment containers for R projects. The final step is organizing the steps above into a build script that can be run on your remote host (on-premises or in the cloud). I’ll try to follow-up with a more detailed post on how to do this, along with some tips and tricks for managing automated builds and CI/CD pipelines.
Footnotes
File > New File > Plumber API…↩︎